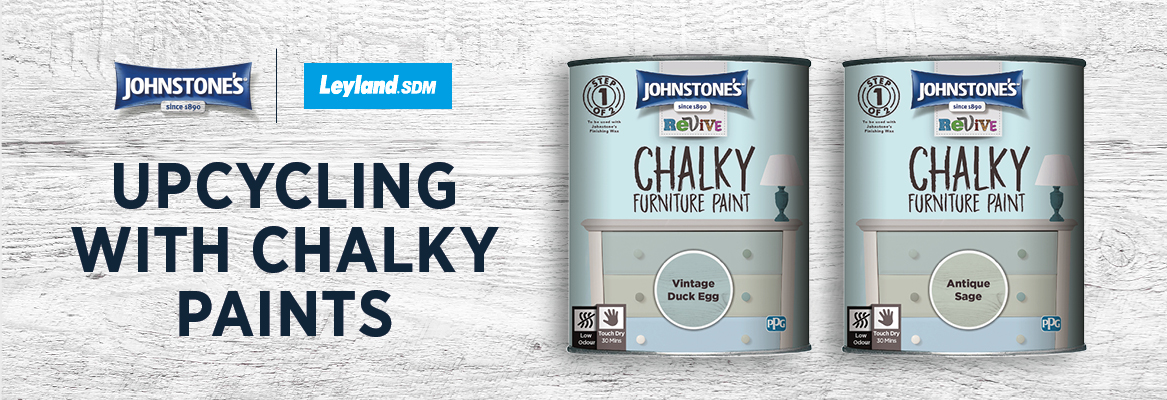
Upcycling with Chalky Paint
How to paint furniture
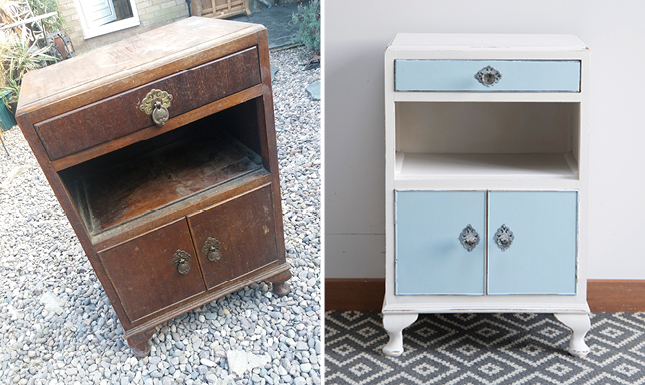
If you’ve got a loved piece of furniture that has seen better days – or you’ve found a bargain in a charity shop - why not give it a bit of TLC and bring it back to its former glory?
Whether it’s a side table, a rocking chair or a chest of drawers, upcycling furniture is environmentally friendly, saves money and allows you to give items a bit of your own individual personality.
Re-painting a wooden piece of furniture is not difficult and shouldn’t be daunting – but it’s important you follow simple steps to get it right.
And throughout March and April we’re running a special promotion with a whopping 20% off selected chalky furniture paints in various colours, meaning there’s never been a better time to get creative.
Leyland SDM’s beginner’s guide
Shopping list
- Sugar soap or alternative cleaner
- Wood filler
- Cloths
- Putty knife
- Sandpaper – fine and medium grit
- Dust mask
- Gloves
- Paint brush
- Small roller
- Small roller tray
- Primer
- Paint
- Finishing wax of clear satin
Preparation is key!
Give me six hours to chop down a tree and I will spend the first four sharpening the axe - Abraham Lincoln
As is the case with many DIY tasks, good preparation is key to success. Simply painting a piece of furniture without putting in the hard yards first will lead to disappointing results.
Remove any hardware such as handles or knobs and then give the item a really good clean, particularly if it has been gathering dust in the attic for the past decade.
We recommend using sugar soap on most surfaces, which can be bought as a powder, as a spray or as a concentrate. Sugar soap is gritty, though, so avoid if it’s a delicate surface and opt for something more gentle like oil soap.
Pat dry once cleaned and you’re ready to begin.
Filling in
Repair any small cracks, holes of imperfections using a good quality wood filler. Two-part fillers are best as they set very quickly, they’re easy to sand and can be painted with almost any paint.
Mix the filler then apply with a putty knife, dragging across the surface and leaving slightly proud. For deep holes you will need to apply multiple layers.
Once the filler has cooled down and hardened, sand away the excess to a smooth finish.
Enter sandman
The glossy finish on your piece of furniture needs to go so that the new paint has something to adhere to. Grab some medium grit sandpaper and work your way around the item, making sure you get into every nook and cranny.
If you’re painting the item, there’s no need to strip back to the bare wood – far from it. Just try to rough up the glossy finish.
If you’re reviving a big item, it might well be worth investing in a power sander, such as the Black & DECKER Mouse Sander.
Wear a dust mask throughout to protect your lungs and finish off by wiping away the sanding dust with a damp cloth.
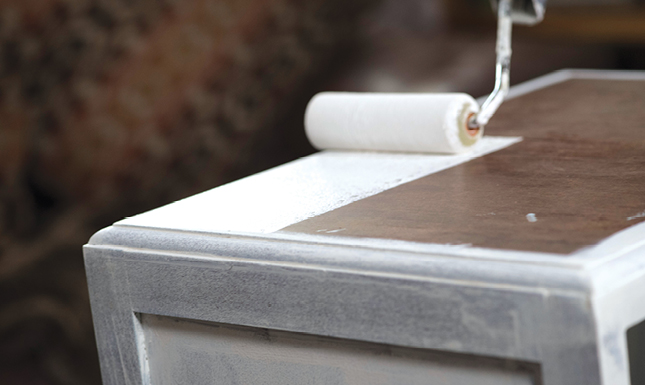
Prime time
Now it’s time to apply primer to your piece which, again, gives the new paint a better surface to grab onto.
Wearing gloves, brush or roll the primer into the grain of the wood in thin coats.
Top tip: place scrap wood under the bottom of the furniture so it raises it off the ground slightly, making it easier to prime the bottom parts.
More sanding!
For a really professional finish, it’s important to sand between every coat of paint. Use a fine grit sandpaper to lightly remove any brush strokes or drips – and then wipe down again with a damp cloth.
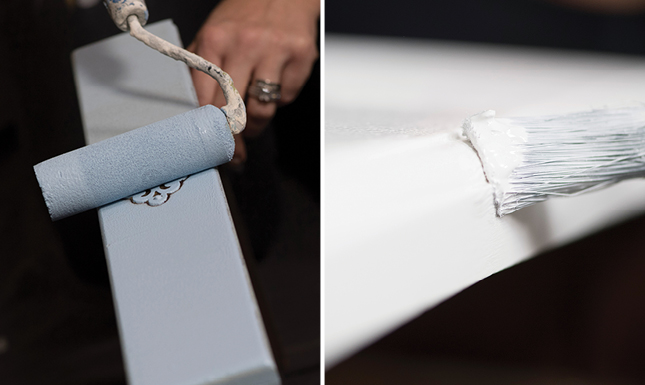
And paint!
And now, at last, the main event. Choose your desired colour and a suitable wood paint and away you go, applying the paint thinly and evenly with a suitably sized brush for the hard to reach areas, and a small roller for the rest.
Remember, lightly sand in between coats for the smoothest finish.
Chalky paint is popular for furniture as it gives a matte appearance and a slight shabby chic aesthetic.
Throughout March and April we have seven stylish colours to choose from in a chalky finish, all discounted by 20%. They are Antique Sage, Cloudy Grey, Cushion White, Dusty Morning, Pink Cadillac, Teal Topaz and Vintage Duck Egg.
Two or three coats may be required for an even finish.
Finishing touches
Protect your new piece with a coat of finishing wax or a clear satin and reapply the hardware!